The fastest way to make your pictures look better is to stop asking for a vague “enhance” pass. Diagnose the photo first, choose one improvement goal, then use an edit prompt that protects the parts that must not change: identity, product shape, pose, color, and camera angle.
TL;DR: improve the photo before you stylize it
- Fix the biggest production problem first: exposure, crop, background clutter, subject sharpness, or color balance.
- Use a reference-led prompt when the person, product, outfit, logo position, or original pose must stay recognizable.
- Ask for natural improvements before heavy style changes; style is easier after the photo is clean.
- Judge the first result by a short checklist instead of taste alone: identity, light, crop, background, texture, and text artifacts.
- Inside Vogue AI, start from a prompt-library example, keep the prompt in English, and revise one control at a time.
Image plan for this workflow
| Image role | Prompt-library source | Why it matches |
|---|---|---|
| Hero | Nano Banana starter image | A broad image-to-image example fits a mixed photo-improvement article because it signals fast visual transformation without locking the guide to one niche. |
| Cleanup case | GPT Image 2 reference portrait candidate | The dark wavy portrait example matches identity-safe improvement: preserve the reference while upgrading lighting, texture, and polish. |
| Mood case | Midjourney beautiful-scene candidate | The atmospheric example is useful near the style section because it shows when mood and color grading are the actual goal. |
Step 1: diagnose the picture
Before you write a prompt, name the weakness in plain production language. A phone photo, product snapshot, selfie, or travel image usually fails for one of six reasons.
| Problem | What to ask for | What to protect |
|---|---|---|
| Too dark or flat | Improve exposure, white balance, contrast, and catchlights. | Original face, product color, and realistic shadows. |
| Messy background | Simplify or softly blur the background and remove distractions. | Subject outline, pose, and believable depth. |
| Weak crop | Reframe for 4:5, 3:4, 1:1, or 9:16 with cleaner negative space. | Main subject scale and important edges. |
| Looks amateur | Add soft studio or daylight lighting, cleaner shadow, and better material texture. | Natural skin, fabric, product material, and camera angle. |
| Style feels dull | Apply one mood direction: editorial, warm film, clean ecommerce, or cinematic travel. | The core scene and subject identity. |
| Generated artifacts | Remove extra fingers, warped text, fake logos, and plastic texture. | Do not change the recognizable person or object. |
Step 2: choose the right improvement lane
A better picture is not always a more dramatic picture. Pick the lane that matches the final use case, then keep the prompt narrow.
| Goal | Best prompt pattern | Best Vogue AI workflow | First failure to check |
|---|---|---|---|
| Natural photo cleanup | Reference-led enhancement with conservative editing rules. | GPT Image 2 when accuracy and instruction following matter. | Face, product, or scene changed too much. |
| Professional portrait | Identity anchor plus light, background separation, and skin texture. | GPT Image 2 or Nano Banana with the uploaded photo as reference. | Waxy skin, wrong age, or changed expression. |
| Product polish | Preserve silhouette and label while improving light and shadow. | GPT Image 2 for controlled product edits. | Logo/label distortion or invented packaging. |
| Social post upgrade | Crop, color harmony, contrast, and clean subject hierarchy. | Nano Banana for quick variations, then save the strongest prompt. | Cluttered frame or no room for caption/text later. |
| Editorial mood | Mood, palette, lens, and cinematic composition. | Midjourney when style exploration matters more than exact fidelity. | The mood improves but the original subject disappears. |
Copyable prompts for better-looking pictures
Copy one prompt, replace only the bracketed parts if needed, and paste it with your image in Vogue AI. These prompt blocks stay in English so they work the same across locales.
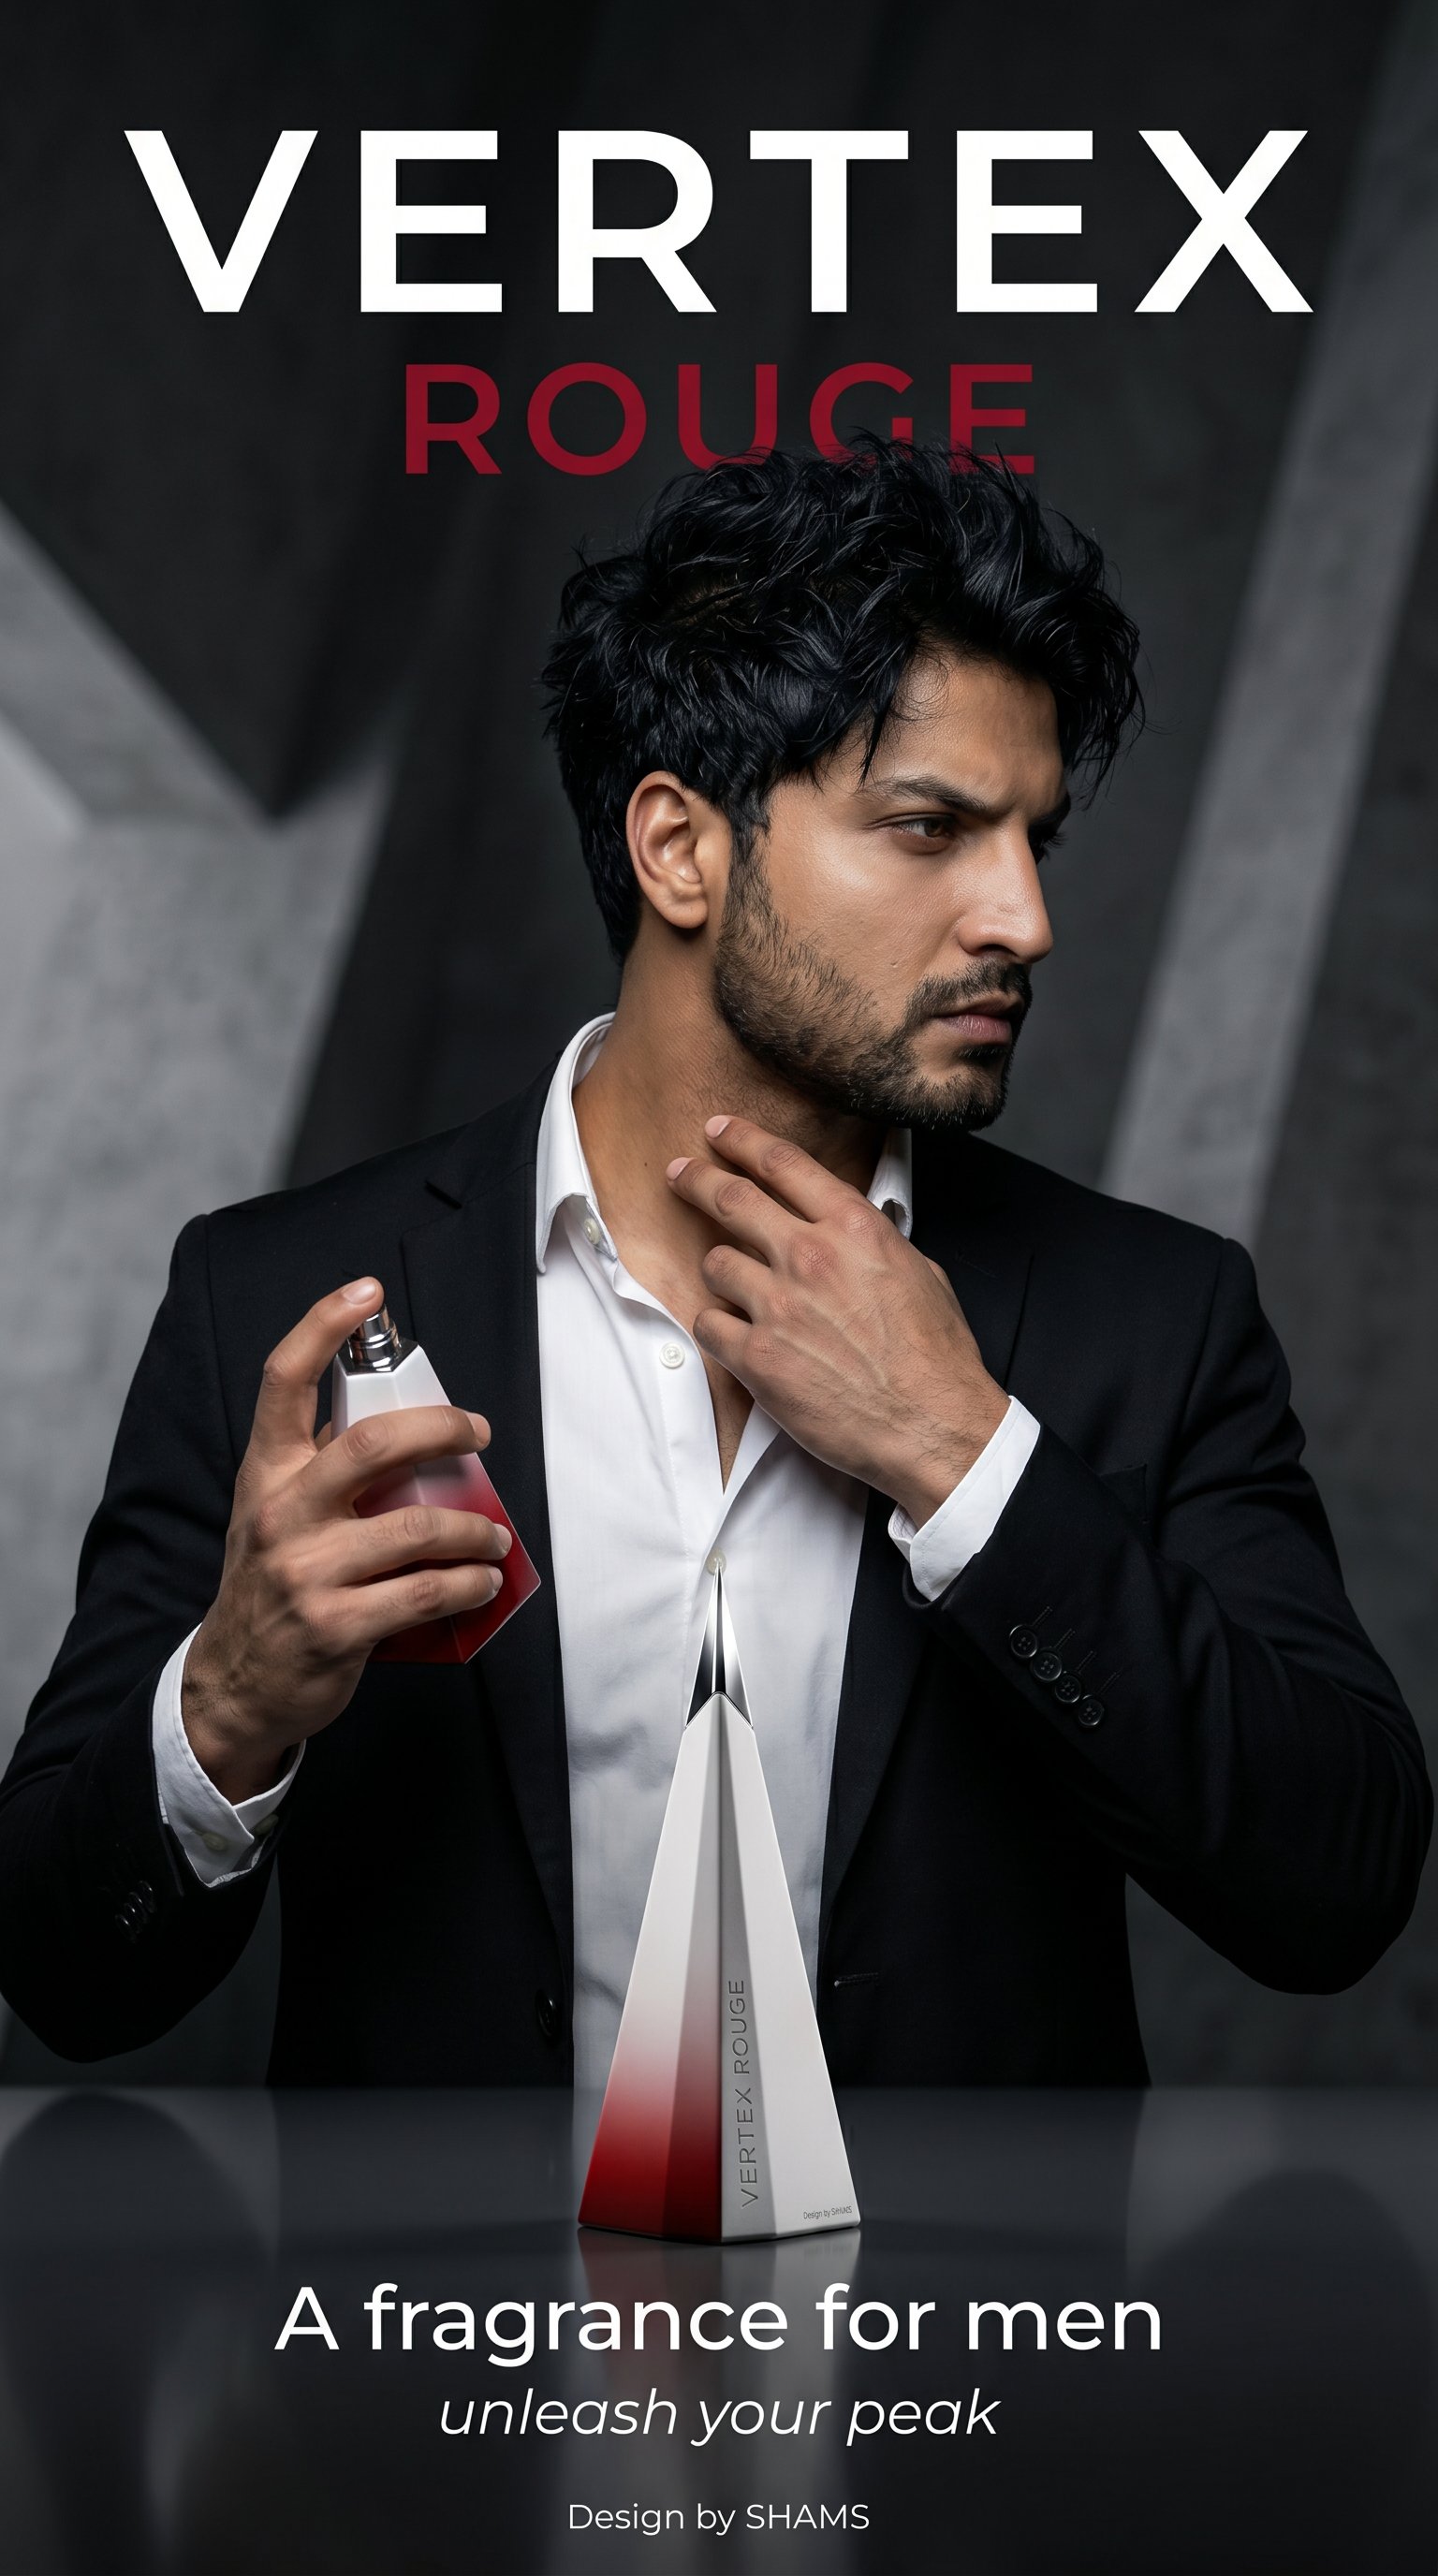
- Natural cleanup edit: Use the uploaded photo as the only subject reference. Improve exposure, white balance, skin or material texture, and background clarity while preserving the original person, product, pose, camera angle, and realistic details. Keep the edit natural, no face reshaping, no added text, no watermark.
- Professional portrait upgrade: Use the uploaded portrait as the identity anchor. Preserve face identity, age, expression, hairstyle, and pose. Improve soft daylight, eye sharpness, natural skin texture, simple wardrobe polish, and background separation. Editorial but realistic, 3:4 crop, no extra hands, no text.
- Product photo improvement: Use the uploaded product image as the product reference. Preserve silhouette, color, label placement, and material. Improve studio lighting, clean shadow, background simplicity, edge sharpness, and ecommerce composition. 4:5 aspect ratio, no invented logo, no text.
- Social-ready style pass: Use the uploaded picture as the base scene. Keep the main subject recognizable, improve color harmony, contrast, crop, and negative space for a social post. Modern editorial mood, clean background, 9:16 or 4:5 framing, no generated typography.
Worked example: improve a casual portrait
Raw job
You have a casual indoor portrait. The face is good, but the room is distracting, the light is yellow, and the image does not feel polished enough for a profile photo.
Prompt version 1
- Use the uploaded portrait as the identity anchor. Preserve the same person, facial features, expression, hairstyle, pose, and camera angle. Improve soft daylight, neutral white balance, eye sharpness, natural skin texture, and gentle background separation. Simplify the room into a clean softly blurred interior. Professional profile photo, realistic edit, 3:4 crop, no face reshaping, no extra text.
First-result diagnosis
If the face changes, tighten the identity sentence before changing style. If the face is right but the image still feels casual, revise lighting and background only. If the crop is awkward, change the aspect ratio and subject scale before adding more adjectives.
Use style only after the edit is controlled
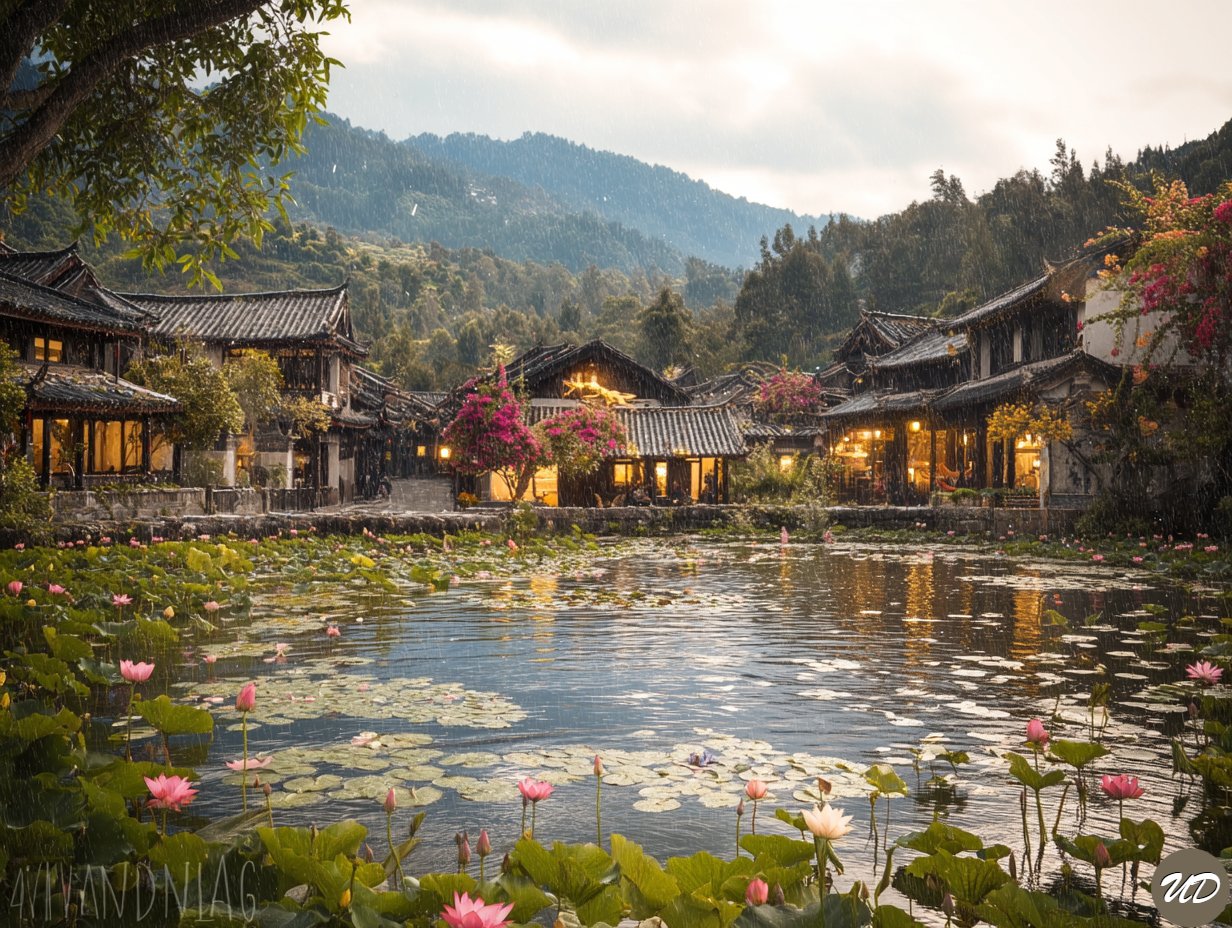
A style pass can make a picture look expensive, cinematic, or social-ready, but it can also overwrite the original. Use one style direction at a time: warm film portrait, clean ecommerce studio, modern editorial, cinematic travel, or soft lifestyle.
- For portraits, keep identity and skin texture explicit before asking for editorial lighting.
- For products, protect silhouette, color, label, and material before asking for premium studio polish.
- For travel or lifestyle photos, protect the real location or subject before adding cinematic grading.
- For social crops, reserve negative space and remove generated text; add typography later in a design tool.
Mistakes that make AI edits look worse
| Mistake | Why it hurts | Better fix |
|---|---|---|
| Asking for “make it better” only | The model guesses which parts can change. | Name the exact defect and the protected details. |
| Adding many styles at once | The image becomes busy or inconsistent. | Pick one mood direction per pass. |
| Ignoring crop and aspect ratio | A good edit may still be unusable for the channel. | Set 4:5, 3:4, 1:1, 16:9, or 9:16 early. |
| Letting logos or text regenerate | Small text often breaks or mutates. | Ask for no generated text, then add copy later. |
| Over-smoothing faces | The edit looks artificial. | Request natural skin texture and preserved facial structure. |
| Switching models too early | You lose track of what caused the improvement. | Revise the prompt once or twice before changing model. |
Vogue AI handoff
Use Vogue AI as the place where the diagnosis becomes a controlled prompt. Upload the image, choose the prompt-library example closest to the job, paste the English prompt, and keep a short review checklist beside the result.
Final checklist before you export
- Identity: the person, product, pet, place, or outfit is still recognizable.
- Light: exposure and white balance improved without flattening the image.
- Crop: the final aspect ratio fits the destination.
- Background: distractions are reduced but depth still feels believable.
- Texture: skin, fabric, food, or product material looks natural.
- Artifacts: no warped text, fake logos, extra fingers, or plastic surfaces.
FAQ
How can I make my pictures look better quickly?
Start by fixing one visible defect: exposure, crop, background, sharpness, color, or style. A focused edit prompt usually works better than a broad “enhance” request.
Should I use AI or a normal photo editor first?
Use a normal editor for tiny exposure or crop tweaks when you want full manual control. Use AI when you need background cleanup, portrait polish, product staging, or a new style direction from the same image.
How do I keep my face from changing?
Use the uploaded photo as an identity anchor and explicitly preserve facial features, age, expression, hairstyle, pose, and camera angle. Avoid heavy style prompts until identity is stable.
Why does an improved picture sometimes look fake?
The prompt may be over-smoothing texture or stacking too many style words. Ask for natural skin or material texture, realistic lighting, and conservative editing.
What aspect ratio should I choose?
Use 4:5 for many social and ecommerce posts, 3:4 for portraits, 1:1 for square grids, 16:9 for banners, and 9:16 for stories or short-video covers.
Can AI fix blurry photos?
It can often improve perceived sharpness, but it may invent details if the source is too blurred. Protect identity and avoid claiming forensic restoration.
How many edits should I make at once?
Make one major change per pass. Fix identity, then crop, then light/color, then style. This makes the result easier to diagnose.
Can I use these prompts for product photos?
Yes, but protect product silhouette, color, label placement, and material. Remove generated text from the image and add final typography later.